How to make hard and soft edges in watercolor – learn with this very simple tutorial! In this quick study I demonstrate the principles of creating the lost and found look that’s so typical and desirable in watercolor!
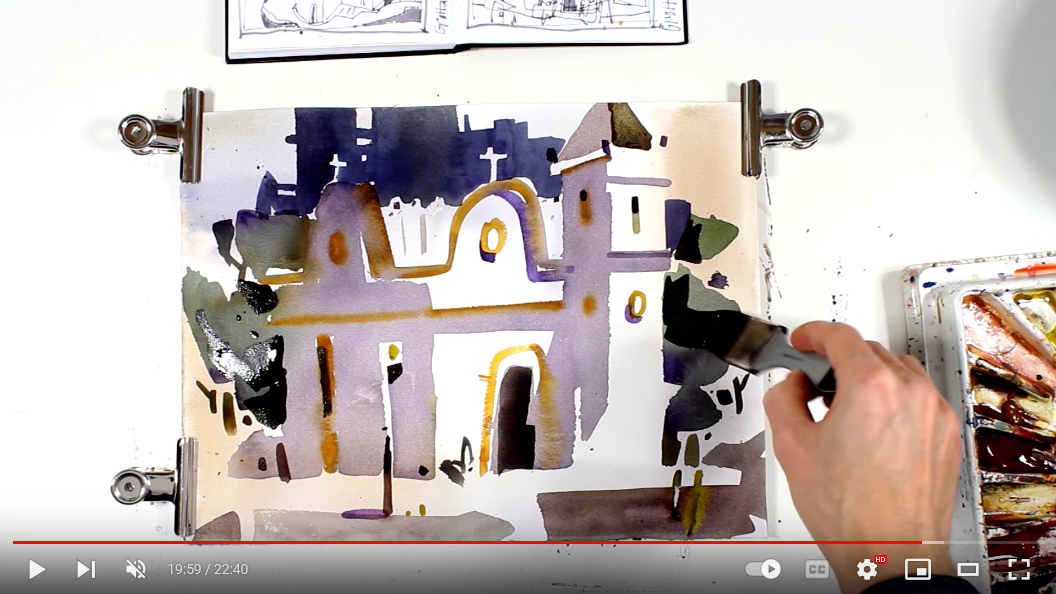
I start today’s painting by thoroughly saturating my paper with water. Once the surface is wet, I use a “thirsty” brush (a clean, thoroughly rinsed brush that is only slightly damp) to remove excess water. Then I apply my wet-in-wet underpainting to the most of the painting and I take care to paint around my reserved lights. This wash sets the color scheme for the painting. It should be somewhere in the light middle value range after it dries.
Once the initial wet-in-wet wash has dried, I apply a second wash. This wash describes my shadow shapes. I connect as much of the shapes as I can. I also connect them to the shapes representing my background in order to create a set of shapes that are interconnected throughout the painting, providing me with an abundance of soft, or “lost” edges. I can always create hard, or “found” edges later. After this wash is dry, I do just that and refine my “objects” further with hard edged shapes that give definition to the objects in the painting. The result of focusing on “lost & found” is a painterly painting with a sense of unity and flow.


