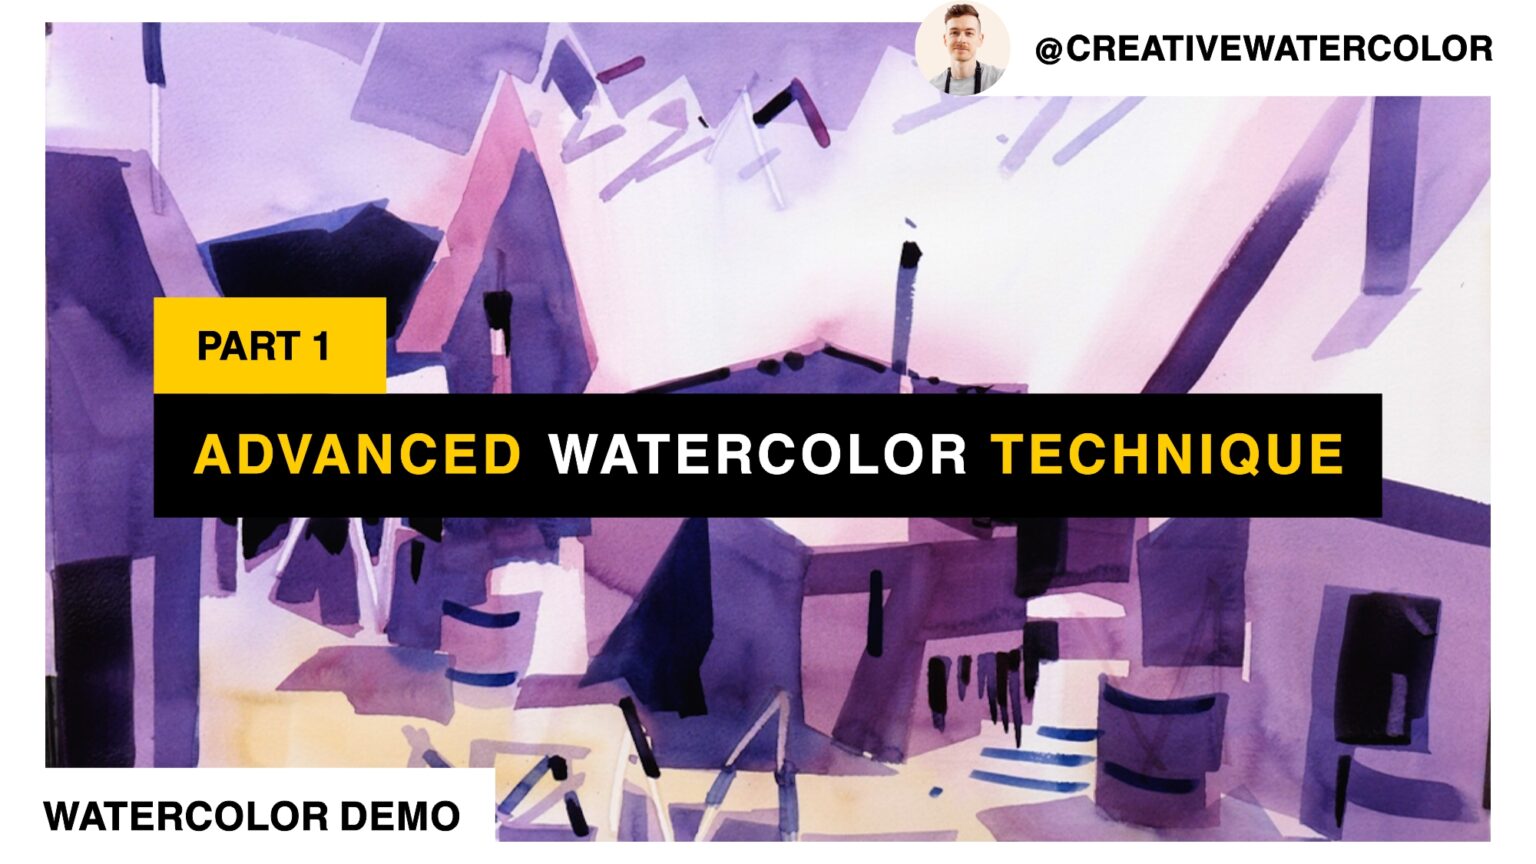
Advanced watercolor technique tutorial can help you, through challenge, surpass how you think about your watercolor painting approach.
Advanced Watercolor Technique Tutorial - List of Materials
- Paints
Winsor & Newton Winsor Yellow
Winsor & Newton Permanent Rose
Winsor & Newton Permanent Alizarin Crimson
Winsor & Newton Winsor Blue Green Shade
American Journey Joe’s Green (phthalo) - Brushes
Winsor & Newton One Stroke Sable 1/2″
Winsor & Newton Series 995 Synthetic 1″
Robert Simmons Skyflow Synthetic 2″
Davinci Cosmotop Mix B #24
Rosemary & Co Pure Sable Series 90 #6 - Paper
Bockingford 140lb Cold Press, 15″ x 22″ / 38 x 56 cm
How to Paint Shadows Creatively Watercolor Tutorial - Reference Pictures
Advanced Watercolor Technique Tutorial - The Lesson
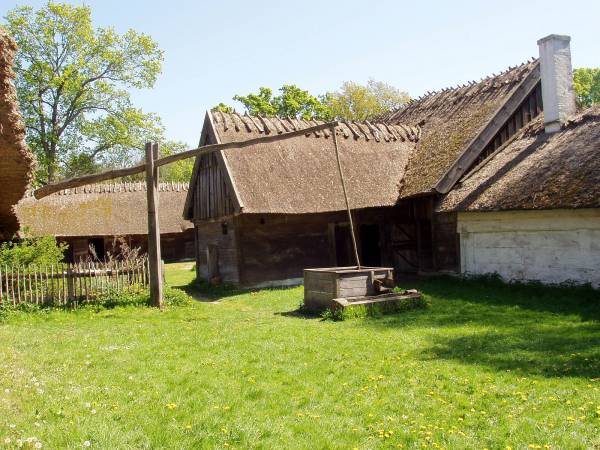
Hello everybody and welcome back to my studio! This week we’re visiting Denmark. Just outside Copenhagen there’s one of the oldest open air museums in the world. Except being a wonderful locale in itself, it’s really a great source of painting material. You can check it out for yourself on Google street (Link to painting location) and maybe feel inspired to make a painting yourself – if so, let me know in the comments!
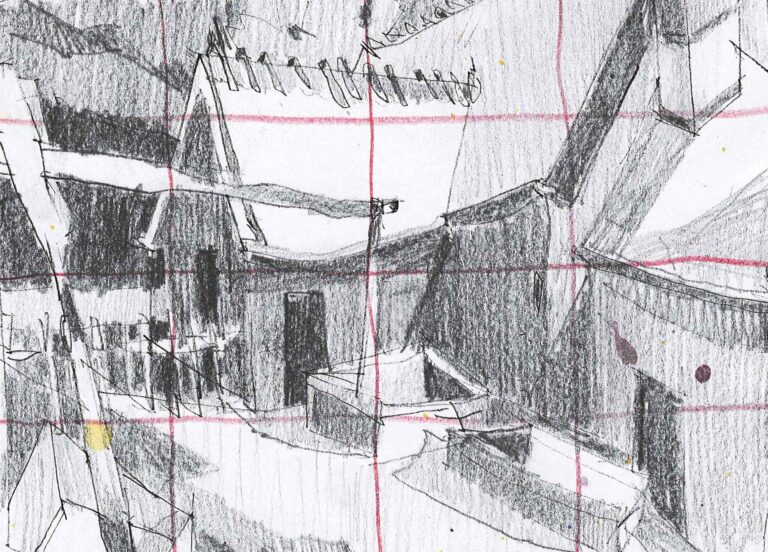
Now let’s focus on today’s lesson. As you can see today we start our painting on an empty piece of paper. No drawing or visible planning, except my picture and value study as a reference. It may be daunting to start a painting this way, but let me break down the process. Notice that I’m in kind of a searching mode – what I look for are good shapes. Working without pencil guidelines urges me to focus on creating my own shapes, not just coloring in shapes I have drawn on my paper beforehand. This approach looks deceptively carefree. Not having a clear outline makes it seem like my brush moves randomly. Of course it’s not. My aim is to establish a good, solid foundation. By that I mean a nice silhouette that spans the width of the painting surface. How do I do this? I focus on the quality of the silhouette, on it’s outside edges. Yes, I want it to represent the subject but I’m not obsessed to make every angle and shape look like the reference photo. Instead, I take the reference as an inspiration. But the trick here isn’t inventing some crazy new environment. The trick is letting go of trying to paint things as they appear in my photo.
This approach is quite advanced but it’s well worth the effort. If you feel up to it, I highly recommend that you give it a try. To take some pressure off, use any discarded paintings or cheaper paper. I have both here, a failed painting on a cheaper paper. I just flip it over and go for it. I can give you a few tips if you decide to try this approach:
- As your reference use a previous painting, not just photo – ideally one that worked out well for you. You can have it close by for reference but don’t copy it. Take a good look and find the underlying large silhouette shape. Then go into the painting with the silhouette etched in your mind’s eye. Paint that.
- Start your painting by considering your whites. Where are your white shapes located? You want to paint those during your first wash. You can paint them negatively (paint around them), or you can pick them out as long as your paper is still wet – just like you saw me do. I used a dry paper towel, nothing fancy or special. You can use a damp sponge, thirsty brush or whatever else you may want to try.
- Once your first wash is dry and your whites are in place, paint that large silhouette that I mentioned before. Paint one large middle-value mass and make sure it’s a pleasing shape. If you need to alter the original reference to make it a nice shape, all the better! That’s the whole point of the exercise! Leave some gaps in the wash and don’t forget to alternate your warms and cools as you go along.
What happens next? Find out by tuning in to my next video where we’ll discuss the next step! And that’s all for today, I hope you enjoyed. If you did, please like, comment and subscribe – IT ALL HELPS A LOT and I’ll see you in the next one!